Panasonic ProClub - Online manual
Send a Campaign
| E-mailing Tool > Send a Campaign |
Once your Campaign and your Contact List are ready, you can proceed to prepare the Sending.
Complete 5 simple steps to programm your Sending.
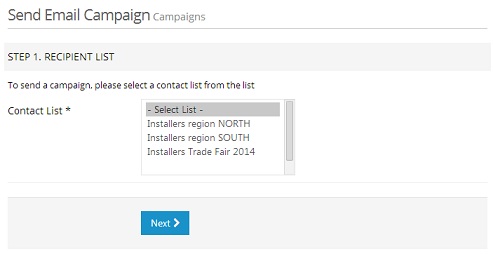
1. Select the Contact List
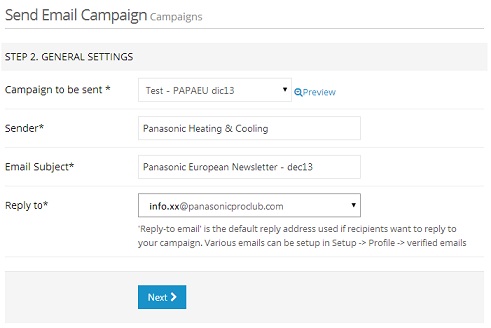
2. General Settings
Select the Campaign
Sender Name: Enter the name to be displayed next to the subject of your outgoing email. Prefer short and easily recognizable names for your recipients i.e. Panasonic, Panasonic Heating&Cooling...
Email Subject: Prefer targeted and attractive topics for your recipients
Reply to: By default, replies are sent to info.xx@panasonicproclub.com. This protects your personal email addresses from being disclosed. All key-users who usually receives the notifications of PRO club receive replies in their Panasonic mailbox.
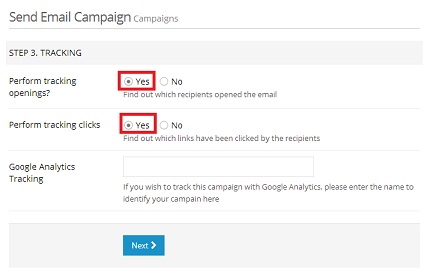
3. Tracking Details
Tick yes if you want to perform tracking. If you tick no, the statistics related to your campaign will not be available. In addition, you are able to perform tracking with Google Analytics by entering the name to identify your campaign.
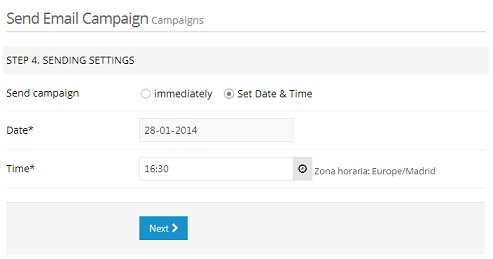
4. Sending Settings
The campaign can be sent immediately (within the next xx minutes) or to a specified Date & Time.
5. Sending Summary
Check all Sending Parameters. If you click Send, the campaign will be sent immediately or to the specified date and time, depending on the option selected at Step 3.
